Navajo or Chain plying is my favorite way to ply yarn. There are many reasons Navajo (Chain) plying is beneficial when making handspun, and we’ll learn why and how to achieve it in this tutorial.
How to Navajo (Chain) Ply Yarn
If you’ve got a single bobbin of handspun yarn and you’re ready to ply, Navajo plying is going to be an excellent option for you. It does take some practice, and you want to take it slooooooooow. (You’ll notice that’s a trend here, ha!)
There is a learning curve when it comes to chain plying yarn. This is why I strongly advise you practice with a bit of commercially made or scrap yarn first so you don’t ruin your own handspun.
The basic gist of Navajo plying is that you are creating a giant crocheted chain, then letting the three strands of that chain ply each other.
Chain plying is great for:
Using up left overs from 2 ply. Since getting two single bobbins to have exactly the same amount/length of yarn is virtually impossible, you will inevitably end up with a bit more on one bobbin than the other. Use up that left over by chain plying!
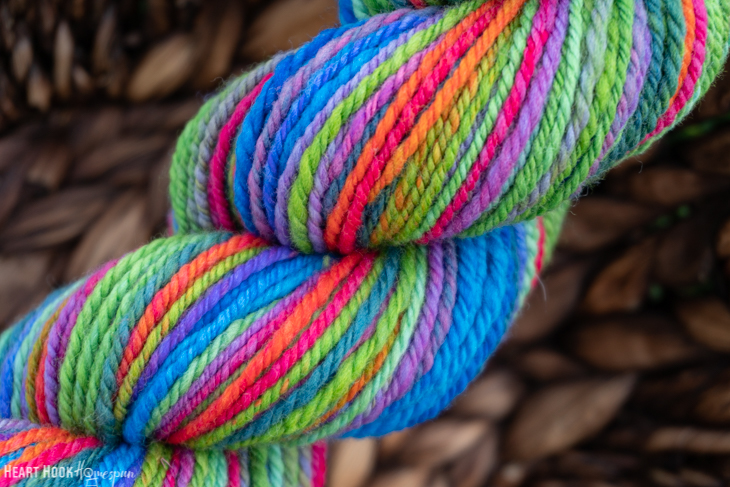
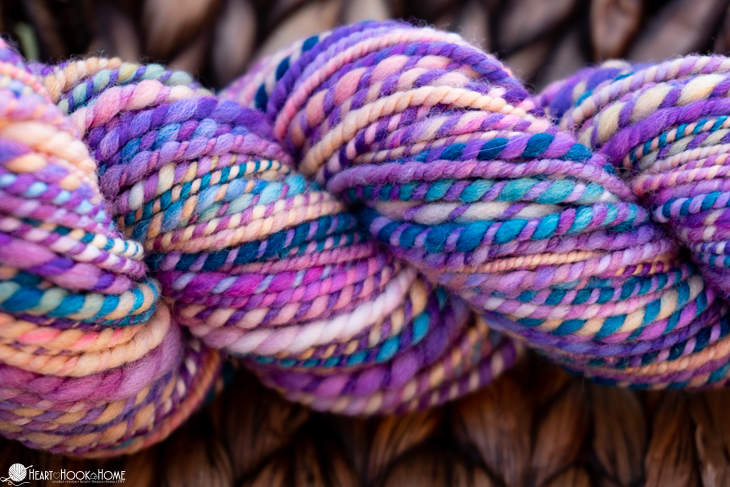
Keeping colors separate. This yarn plying method helps to preserve the color sequences of dyed fiber in order. For example, say you spun one long single bobbin from a gorgeously, dyed-in-sections braid of roving. By chain plying this single bobbin, you will keep colors separate instead of creating a more variegated yarn that you would get with a 2 ply. Then once you get more experience chain plying, you can even force the color changes to always fall at the end of one of your loops.
The purple pictured below is a 2 ply, the rainbow is chain plied:

Steps for Navajo/Chain Ply:
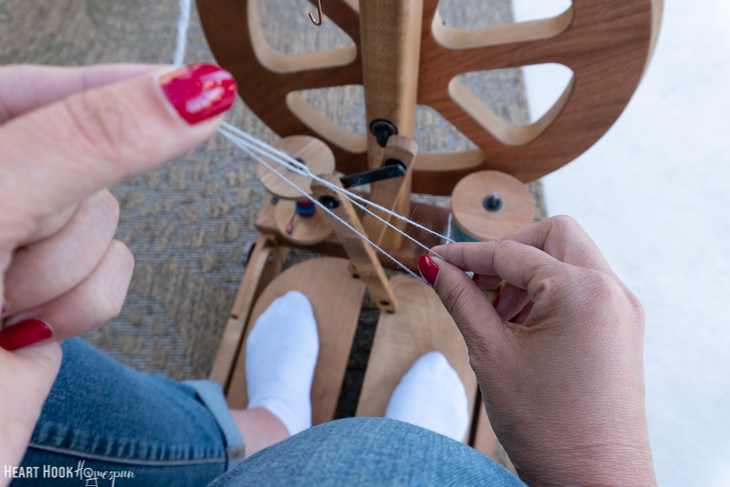
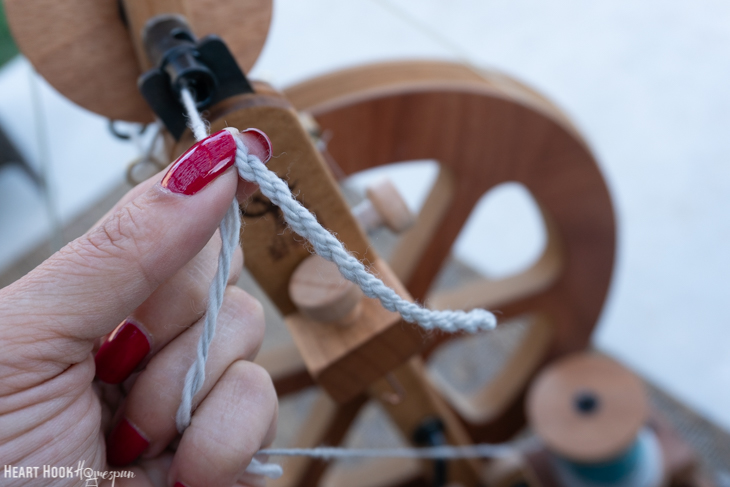
1. Position the bobbin from which you will be plying close to your side. (I use my right hand to make my loops, so I position mine on my right.) You don’t want it so far away that you’re pulling too much off the bobbin at once, as it can double back or make a knot. Here I am using the peg on my Kiwi 3.
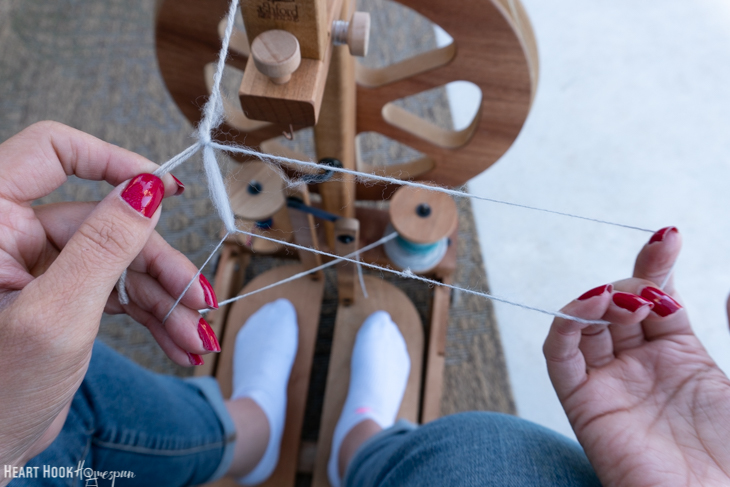
2. Start by tying your single onto the leader of a fresh bobbin.
3. Make a loop so that you can then pull the single through. (Like a giant crocheted chain)

4. Pull down toward the bobbin (placed near your “back” hand) and grab a section of the single and make a giant chain.
5. Use your “front” hand (in this case, my left hand) to control the ply. Try not to let the twist get past the front hand while the other (right) hand is creating the loops.
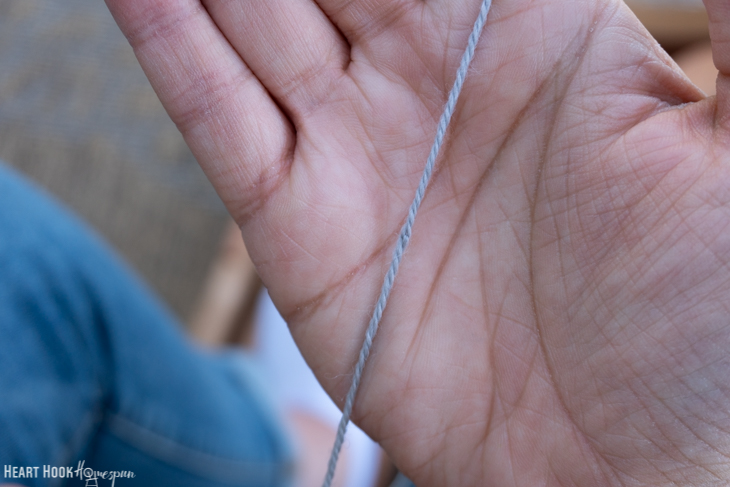
6. Let the plied yarn feed onto the bobbin.
Tips for Navajo Plying:
Always always – yes always – ply in the opposite direction from which you spun the single. If you spun your single using a Z twist, you need to ply using an S twist. Conversely, if you spun the single using S twist, you need to ply using Z twist. More on that here.
GO SLOW! And I do mean slowwwwwwww. Even once you get the hang of it, take your time.
Do not yank the single off the bobbin, pull slowly as you make your chains/loops.
Keep the bobbin close to you. If you’re making the loops/chains with your right hand, keep the bobbin as close to your right knee as you can.
Don’t let the yarn double back on itself. Going slowly helps to prevent this.
Keep your hands far apart. If your hands get too close to each other, chances are the chain/loop will get too small and you will lose control over the twist.
Watch the yarn as it is plied and check that it is balanced as you go.
You will have small bumps where the loops/chains intersect each time. Although the bumps aren’t super noticeable, especially once the yarn has been finished and set, you can create larger loops for fewer bumps.
Very hairy yarns are harder to Navajo/Chain ply because the longer fibers can get caught up in the loops and make it harder to create a balanced yarn.
Definitely do a few test runs of Navajo/Chain plying with some commercially made or scrap yarn before diving in with your own handspun. You’ll thank yourself in the long run. I hope you love this kind of plying as much as I do!
Leave a Reply